
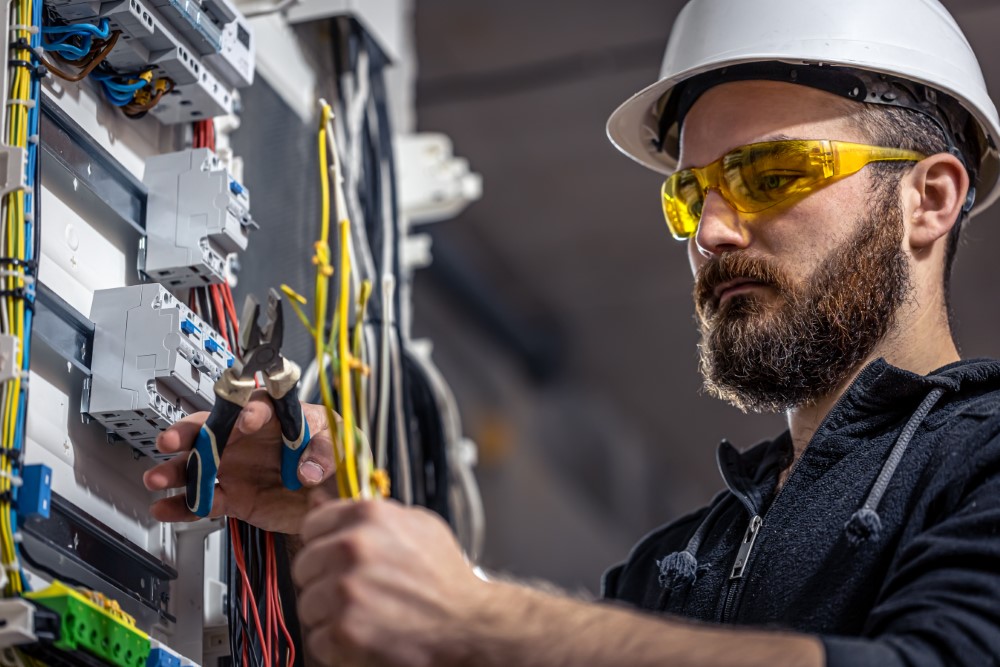
Finding yourself in the dark because of a faulty light switch? Don’t fret! You’re not alone. South Africans far and wide have dealt with this pesky problem. In this guide, we’ll walk you through troubleshooting a faulty light switch, ensuring you’re equipped with the know-how to tackle it head-on.
Step 1: Identify the Symptoms
First things first—let’s pinpoint the issue. Here are some common symptoms of a faulty light switch:
- Light flickers or won’t turn on at all
- Switch feels warm to the touch
- Unusual noises like buzzing or crackling sound
- The switch is loose or wobbly
Step 2: Safety First!
Before you dive into any electrical project, safety is key. Turn off the power at the circuit breaker to avoid any nasty surprises. It’s best to use a voltage tester to ensure there’s no electricity flowing through the switch.
Step 3: Remove the Switch Cover
Once you’re certain the power is off, remove the switch cover plate. This usually involves unscrewing a couple of screws—simple enough, right? Make sure to keep those screws safe; you don’t want to hunt for them later.
Step 4: Inspect the Wiring
Now it’s time to take a peek inside. Check for any loose or frayed wires. If you notice any corroded or damaged wiring, you may need an electrician to replace it. This is crucial, especially considering South Africa’s unique weather conditions that can sometimes impact household wiring.
Case Study: Thandi’s Living Room
Thandi, a homeowner from Johannesburg, faced a flickering light in her living room. After turning off the circuit and inspecting the switch, she found a loose wire that had been compromised by humidity. After securing the wire properly, her flickering light was fixed in just minutes!
Step 5: Test the Switch
After ensuring everything looks good and secure, it’s time for a test. Replace the switch cover temporarily and turn the power back on at the circuit breaker. Flip the switch—does the light turn on? If yes, great! If not, it might be time for a new switch.
Step 6: Replace the Switch (If Needed)
If your tests indicate that the switch is faulty, don’t worry! Replacing a light switch is not as complicated as it sounds. Simply note the wiring configuration before disconnecting the old switch, and replicate it on the new one. If you’re unsure, there are plenty of instructional videos available online, or consider reaching out to a local electrician.
Pro Tips
- Keep a toolbox handy—having the right tools on hand can make a world of difference.
- Invest in high-quality switches and wiring, as South Africa’s electrical standards might vary.
- Regularly check your electrical fixtures, especially after heavy rains or storms, to ensure everything is in good working order.
If all else fails, don’t hesitate to consult a professional. Sometimes, electrical issues are deeper than they seem!
So there you have it—a simple yet effective guide to troubleshooting your light switch. Embrace your inner DIY enthusiast and don’t let a little darkness dim your spark. You’ve got this, and each step you take makes you a little more empowered. Happy fixing!